Assembly Guide
Step-by-step instructions for building your Robomates robot from the kit.
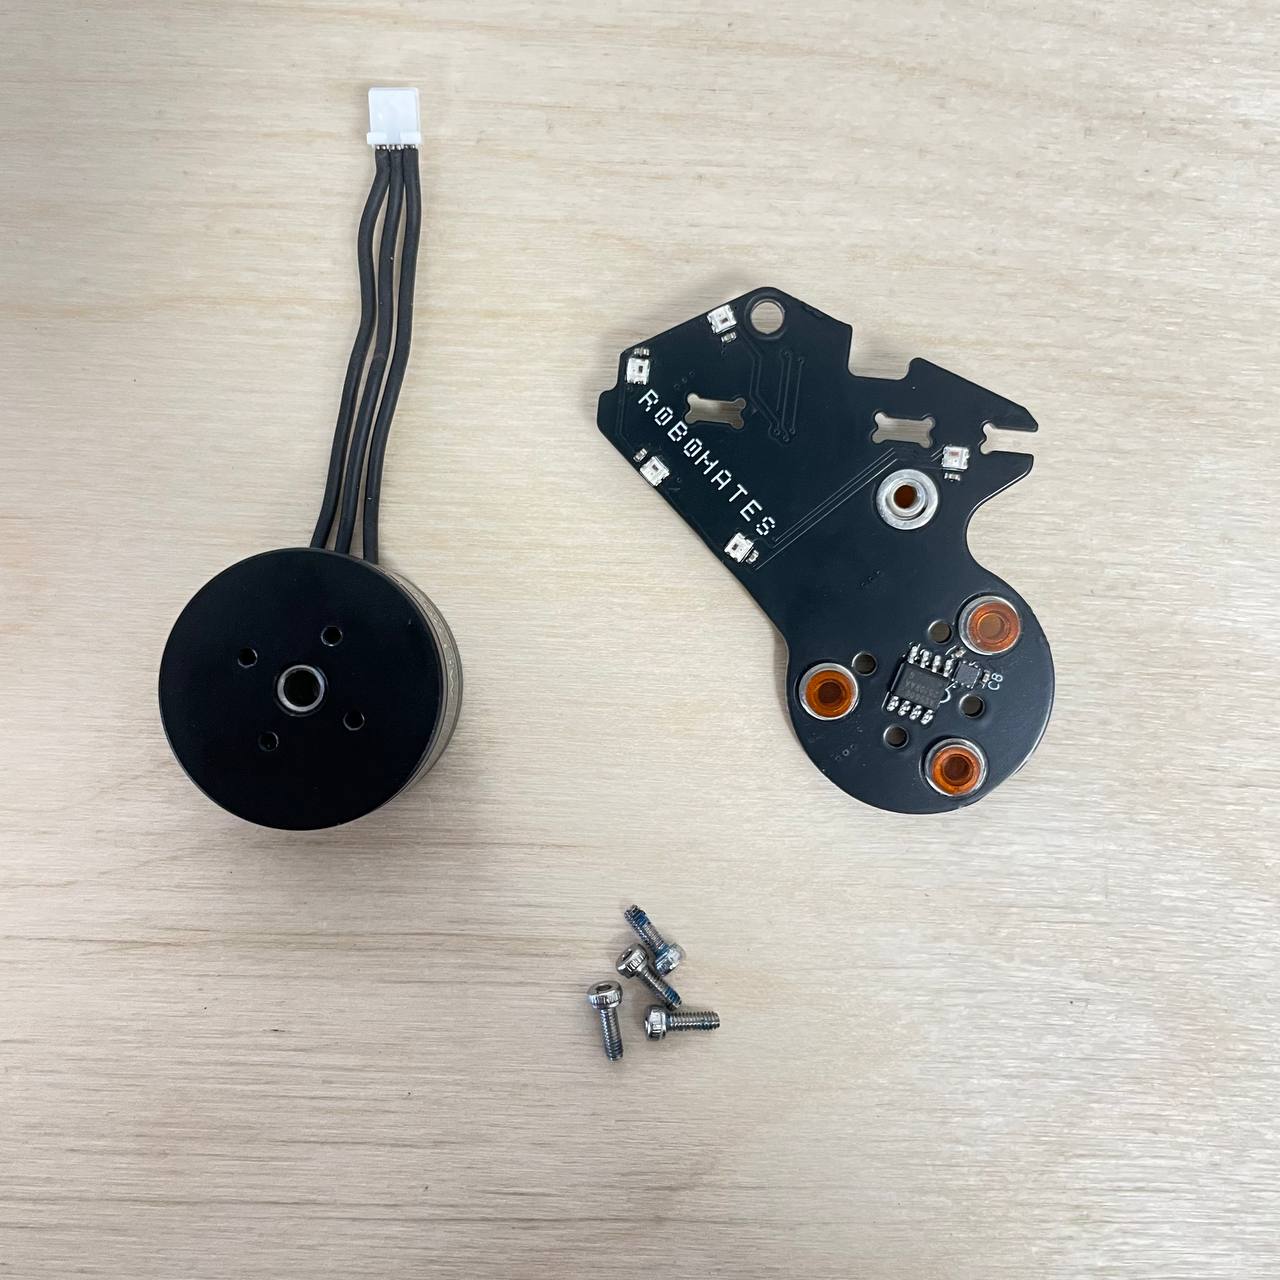
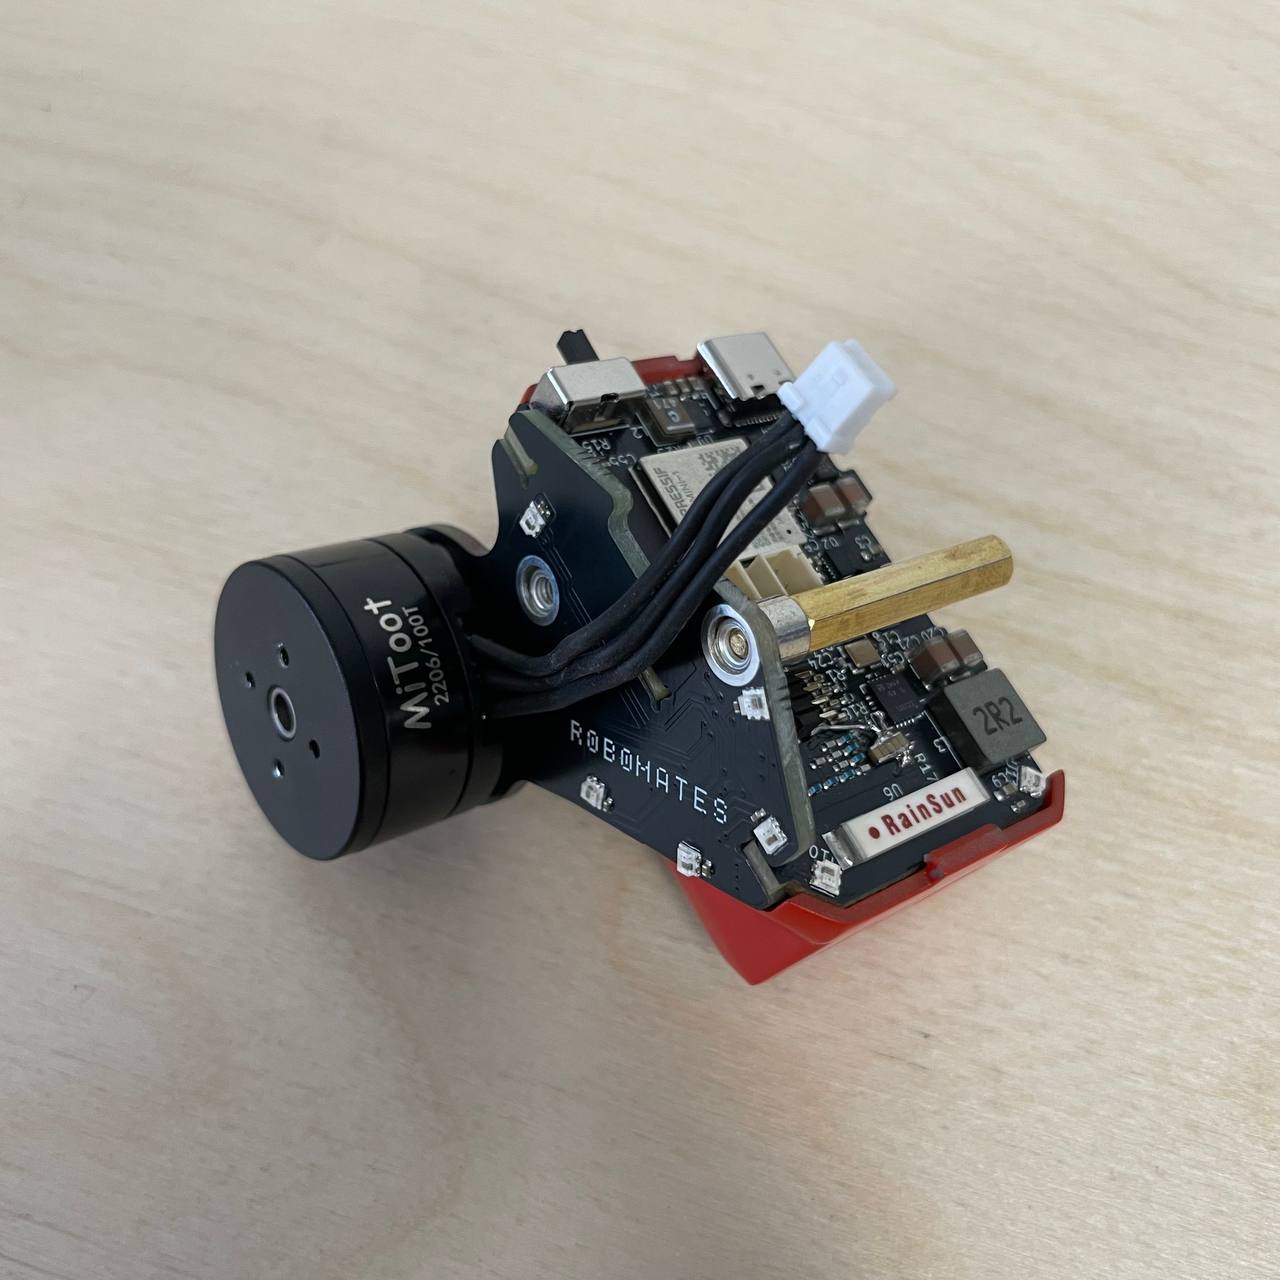
Step 1: Assembling right side board
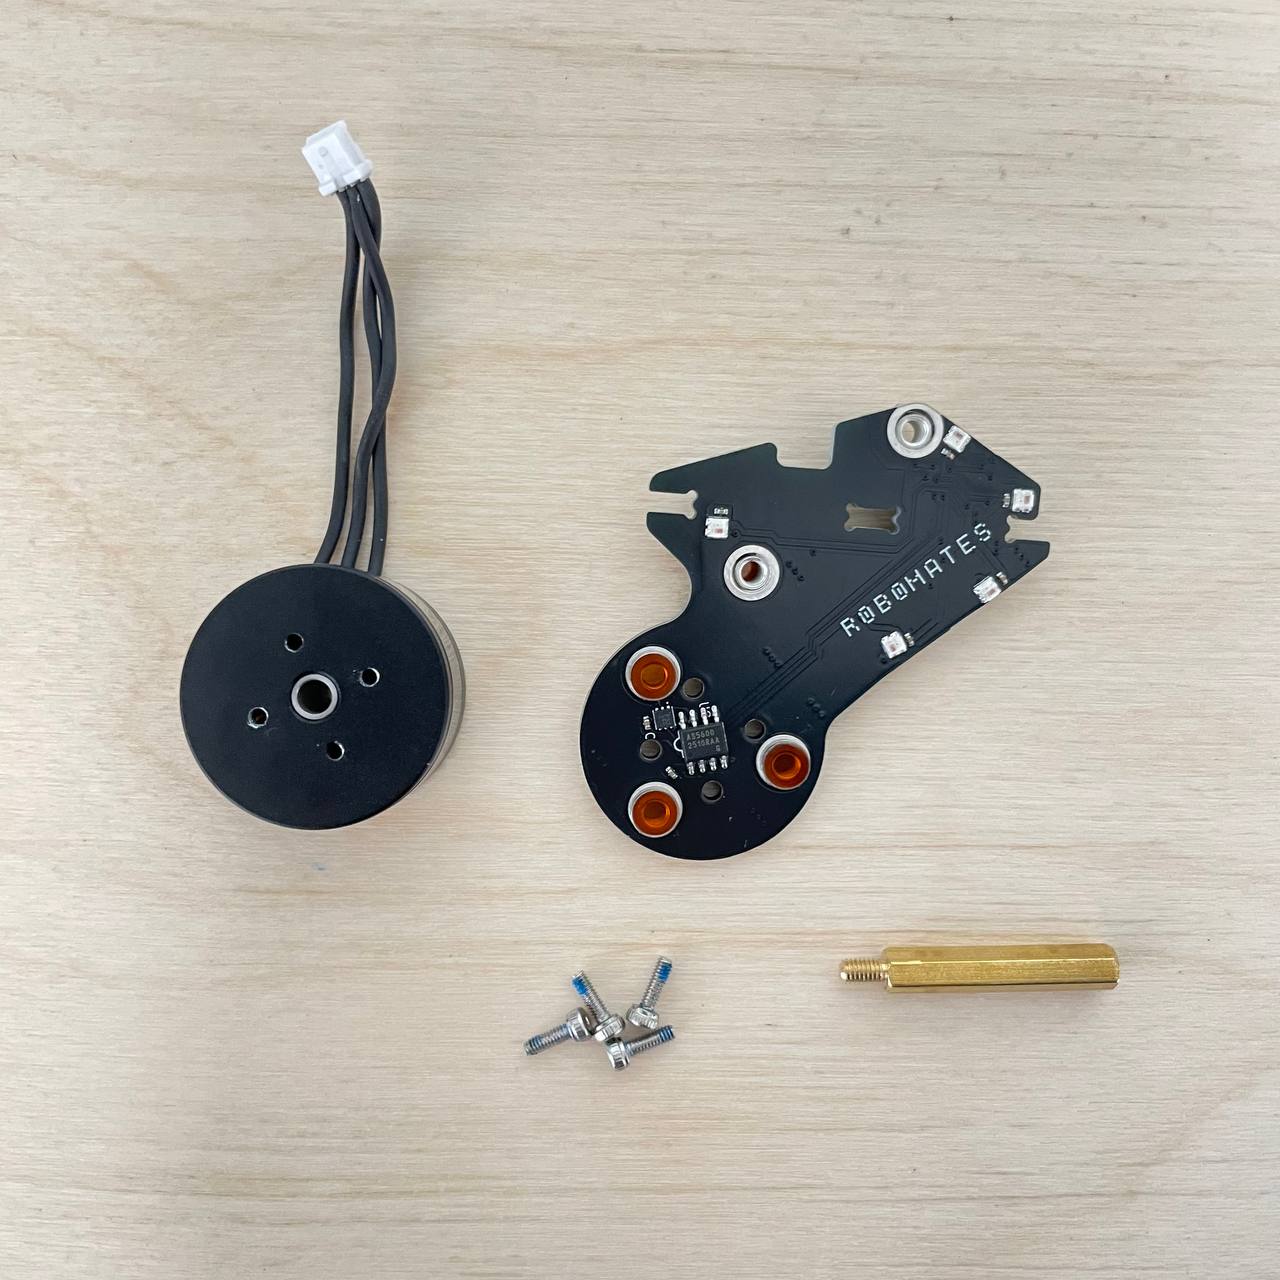
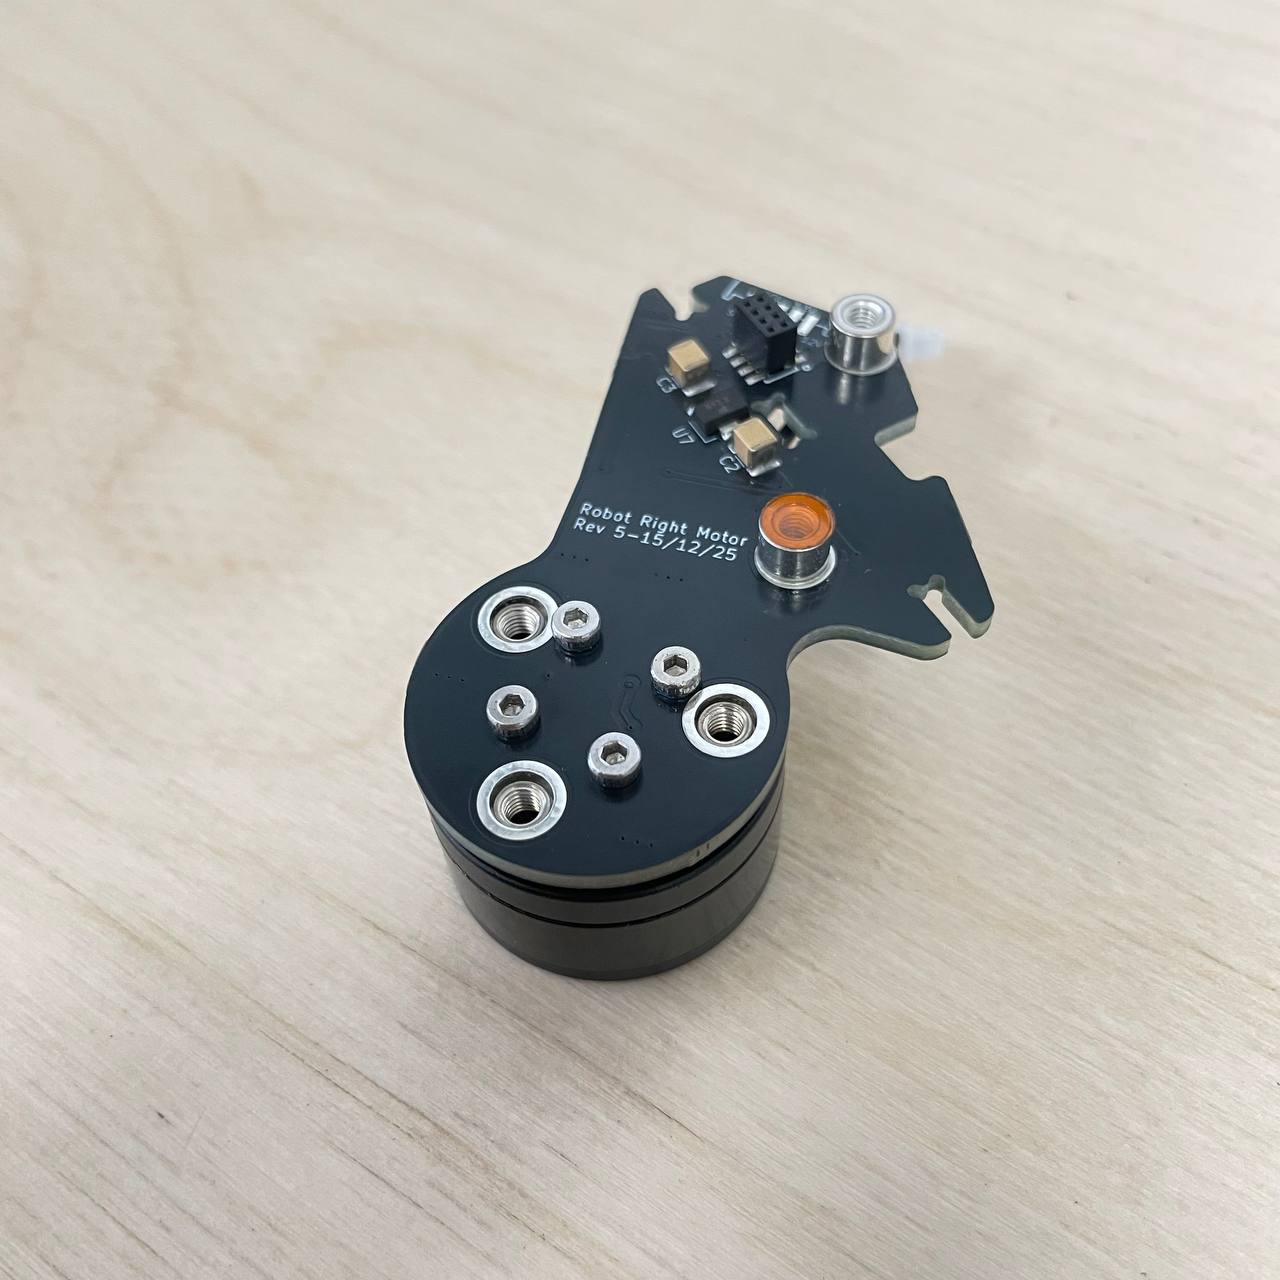
Bolt motor using M2 bolts.
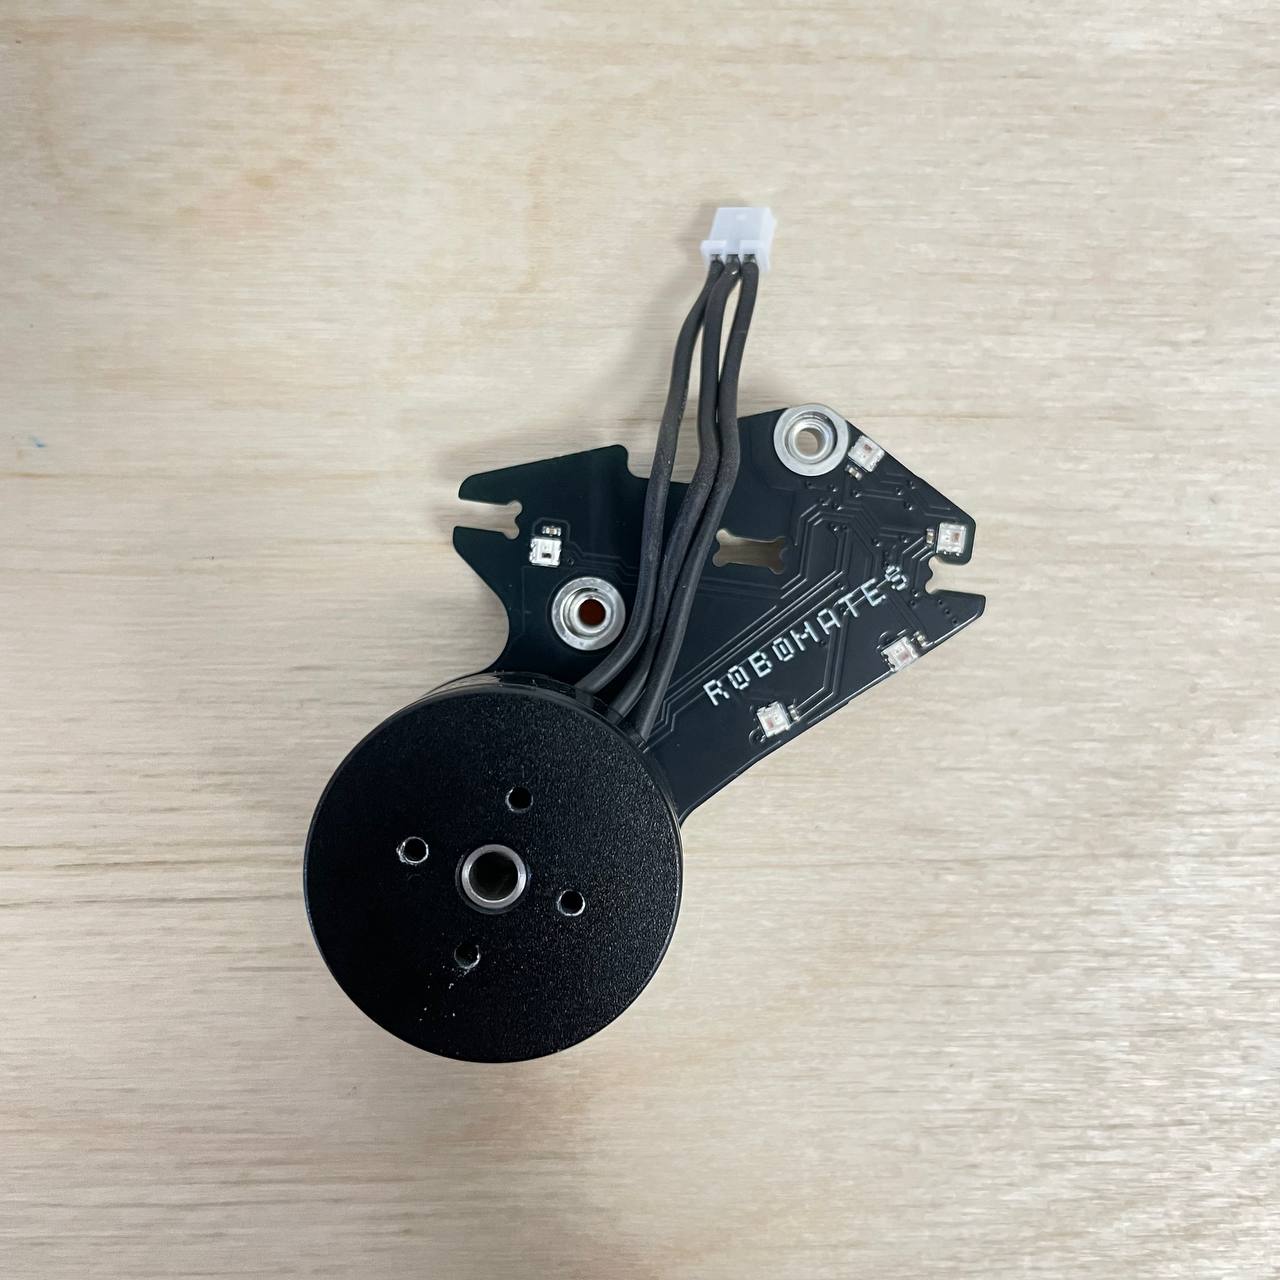
Ensure motor cable is facing towards the top of the side board.
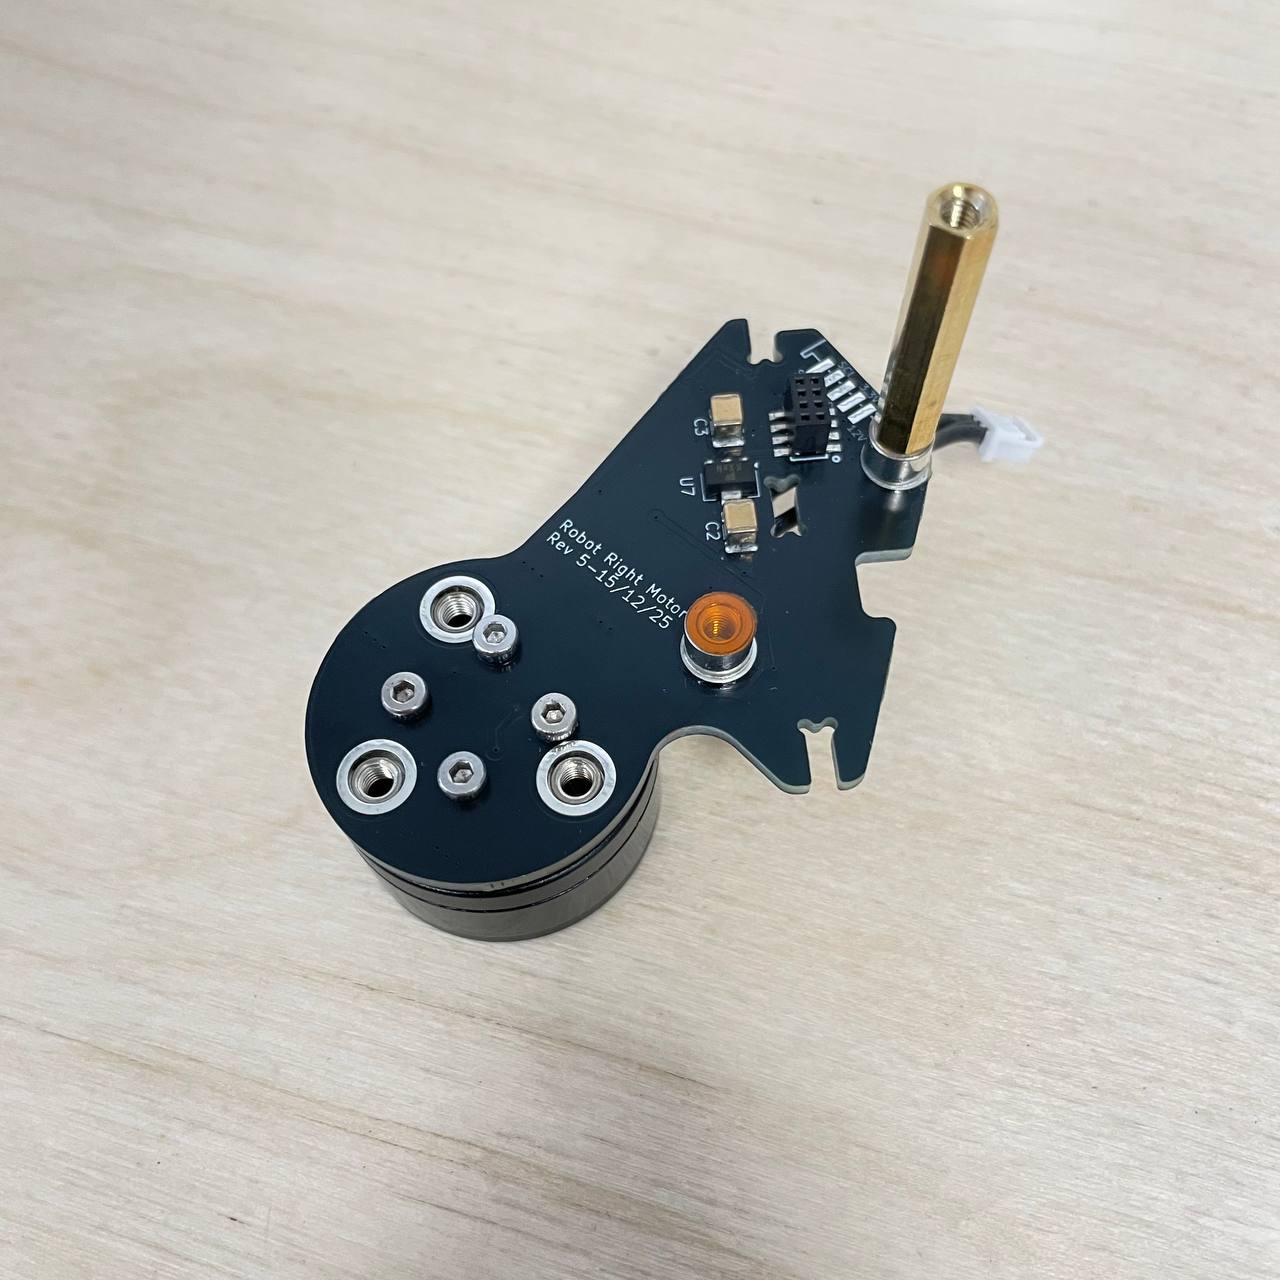
Screw in standoff to the side board.
Step 2: Assembling left side board
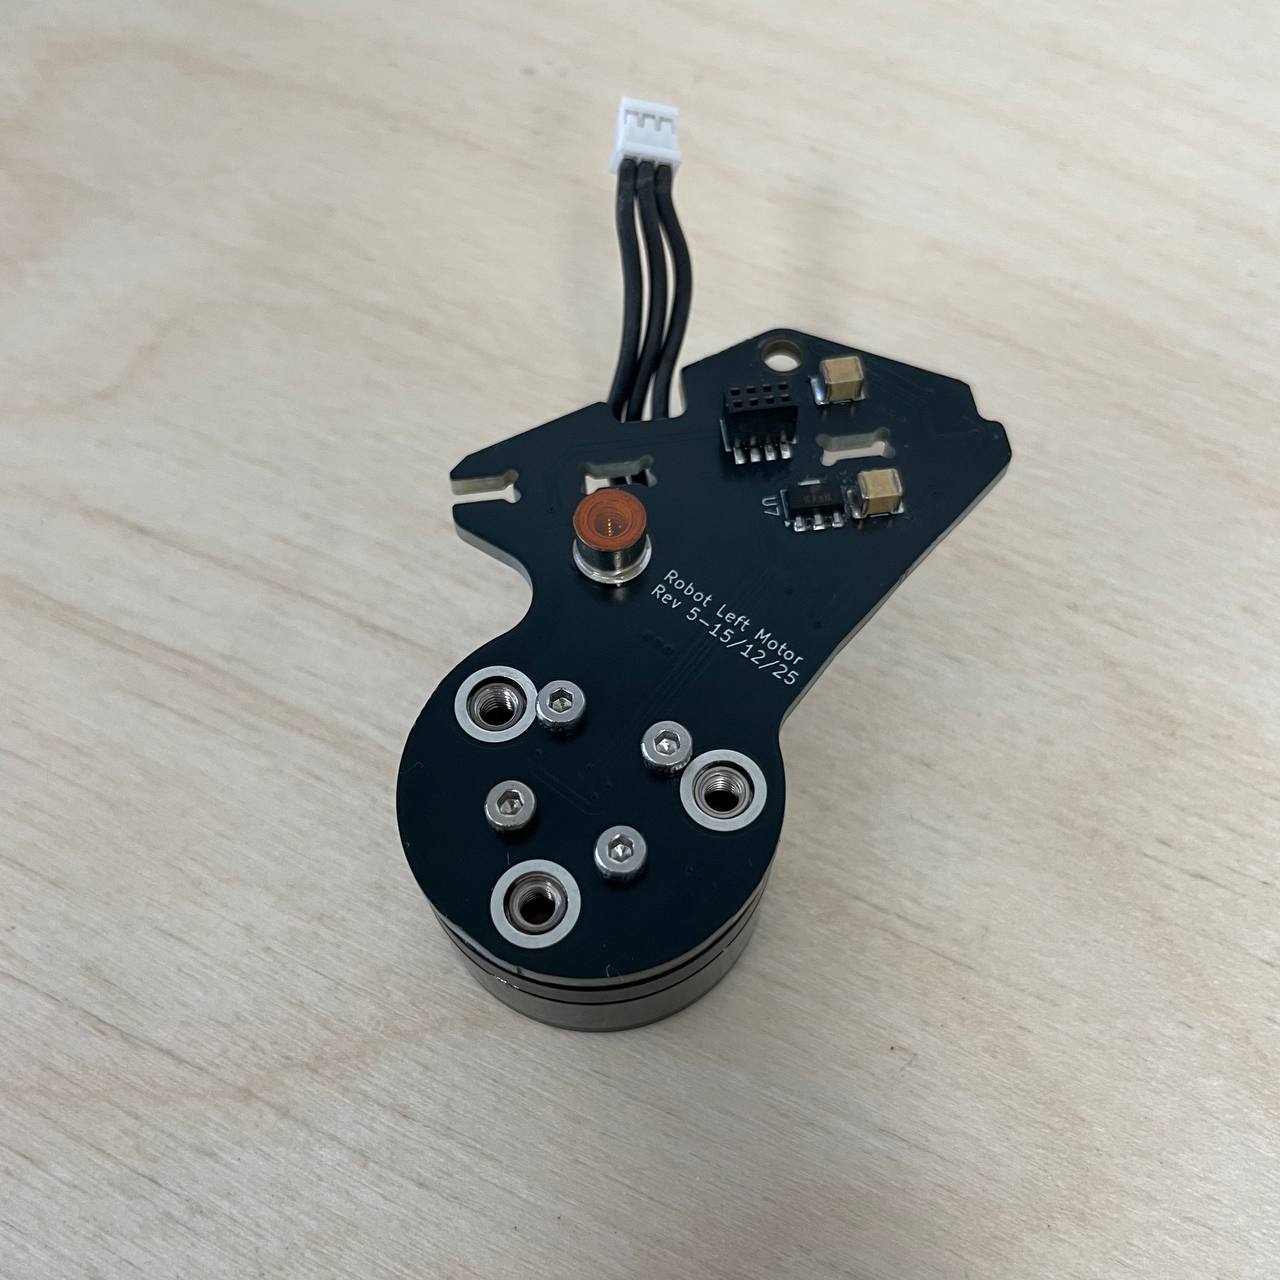
Bolt motor using M2 bolts.

Ensure motor cable is facing towards the top of the side board.
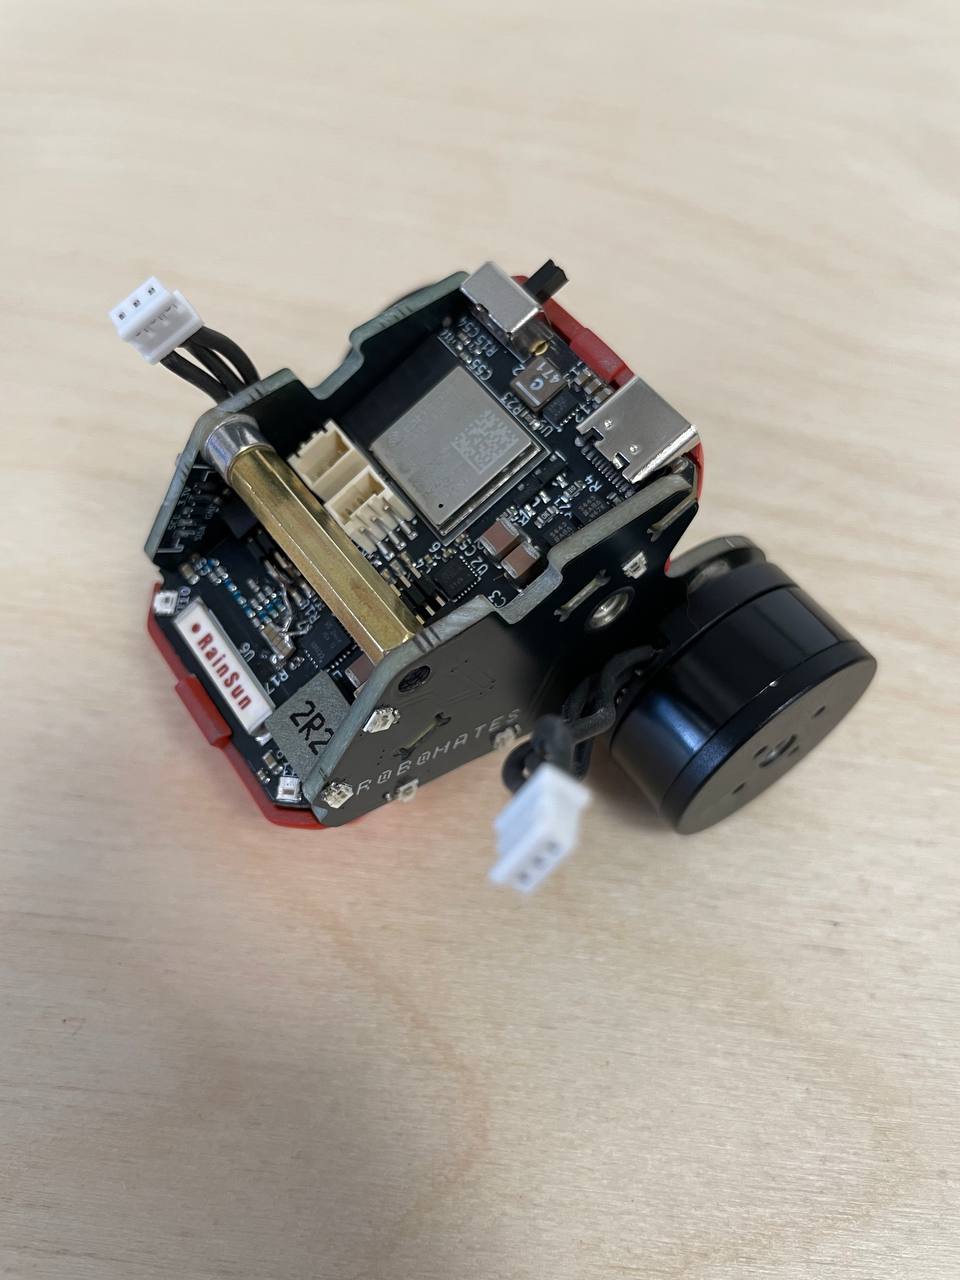
Step 3: Assembling Robomate chassis
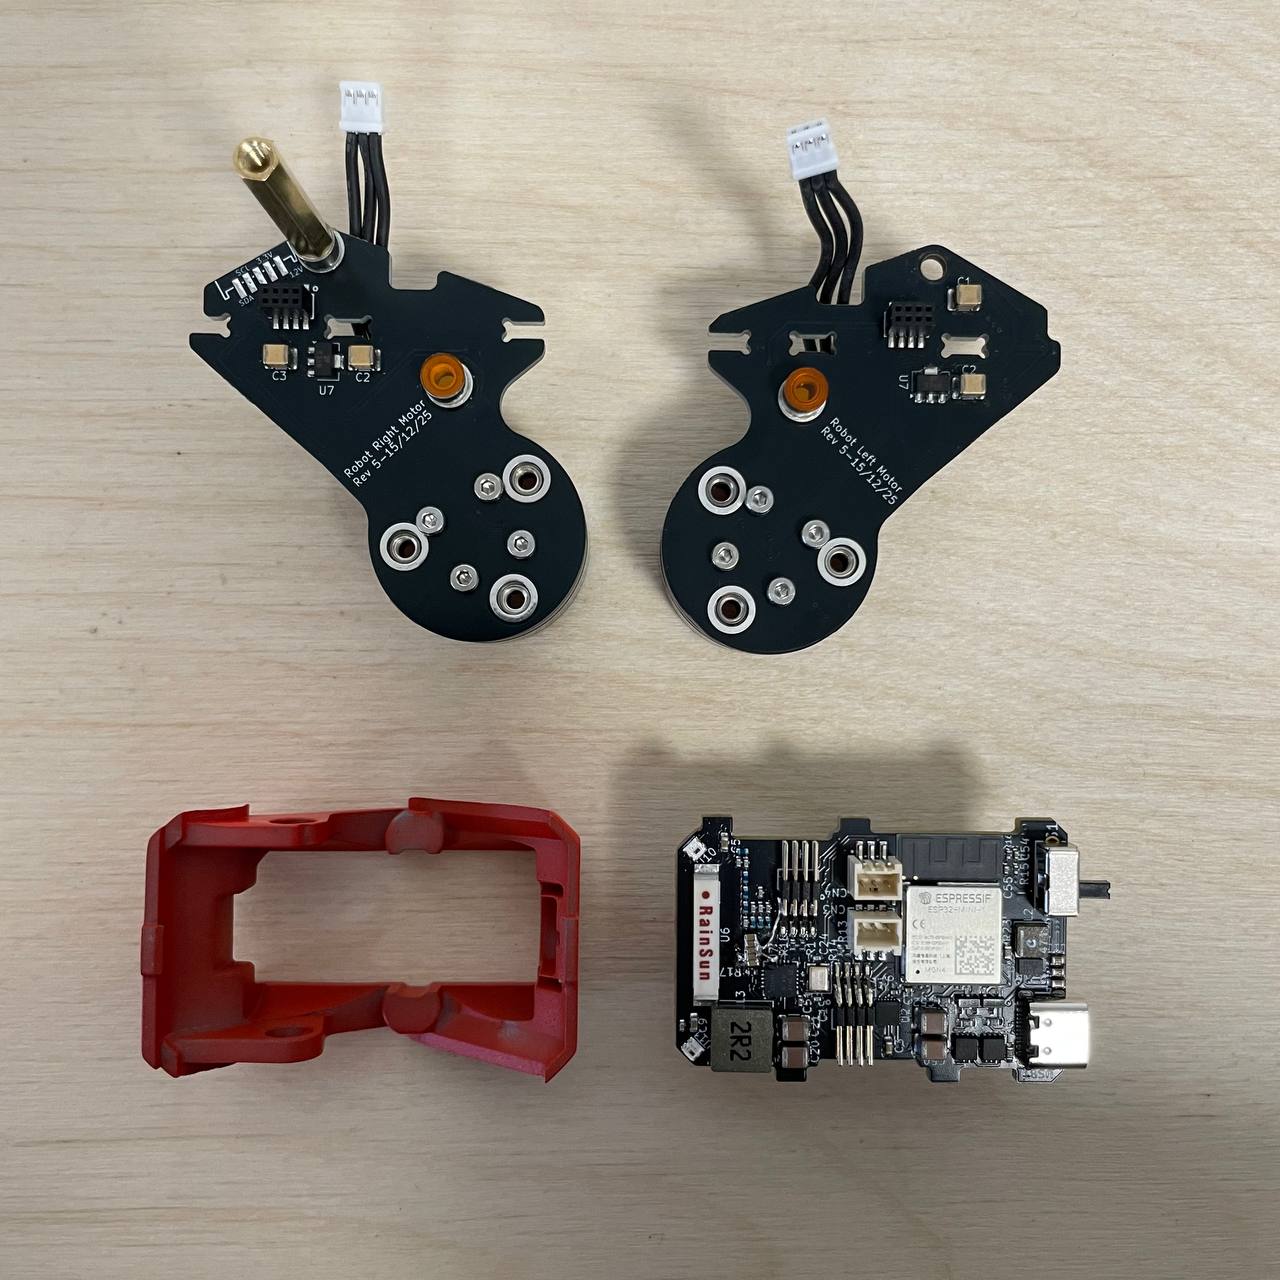
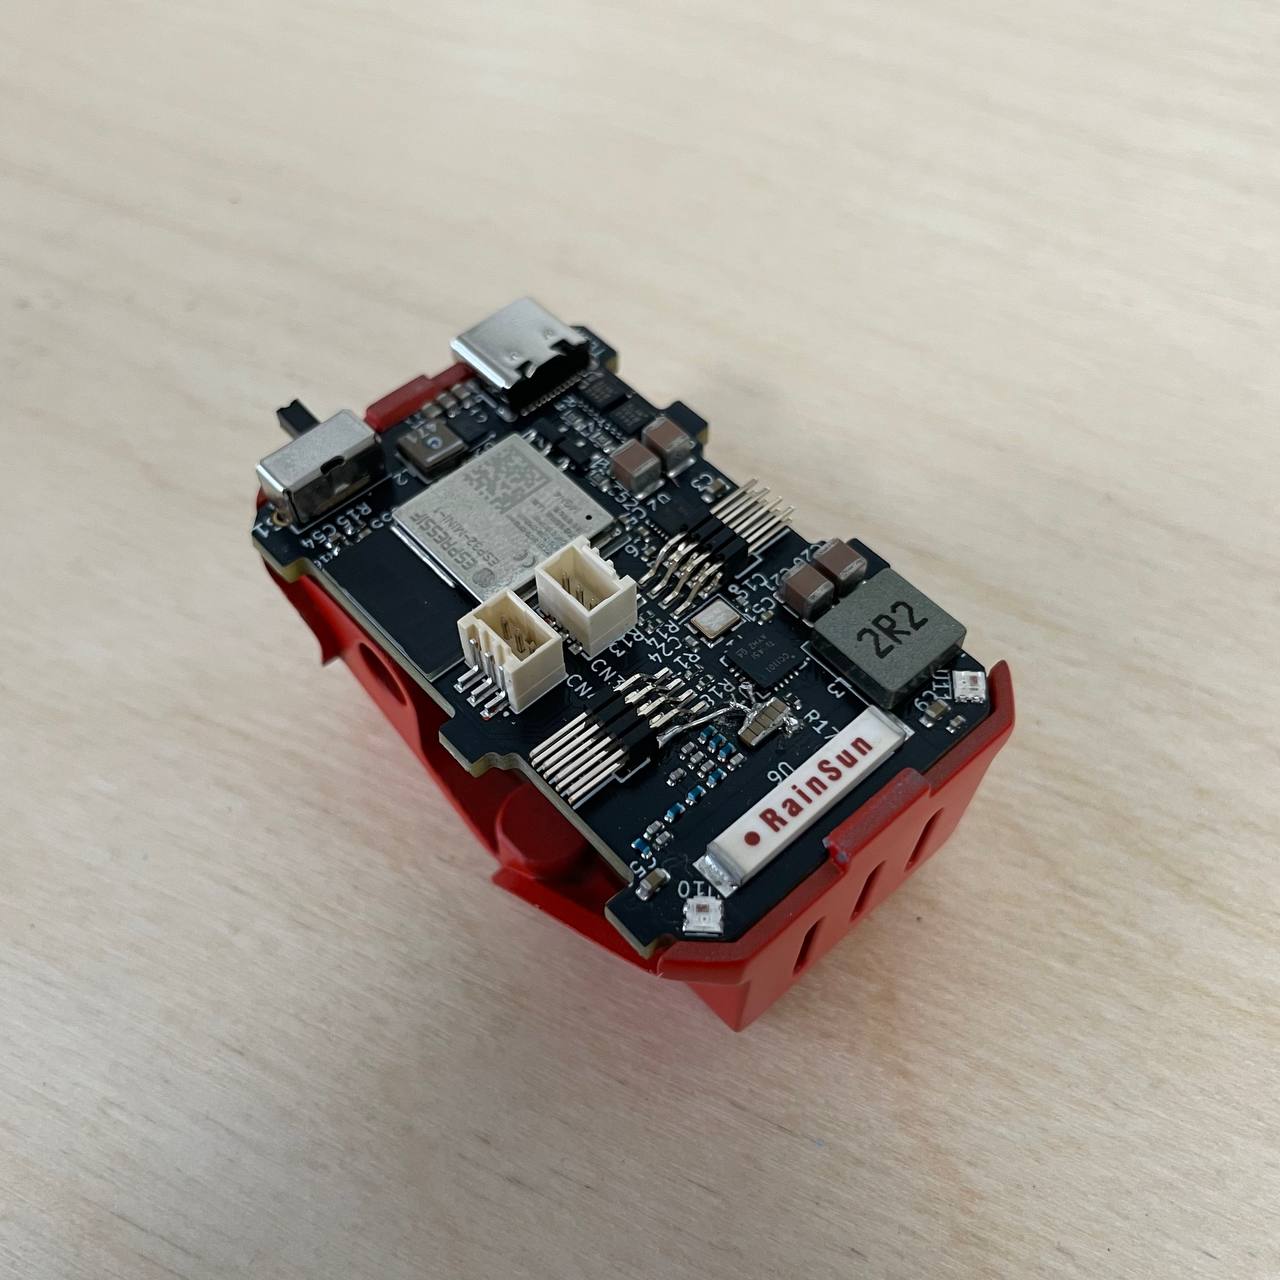
Place main board into the main casing.
Connect the right side board to the main board. Make sure that pins align.
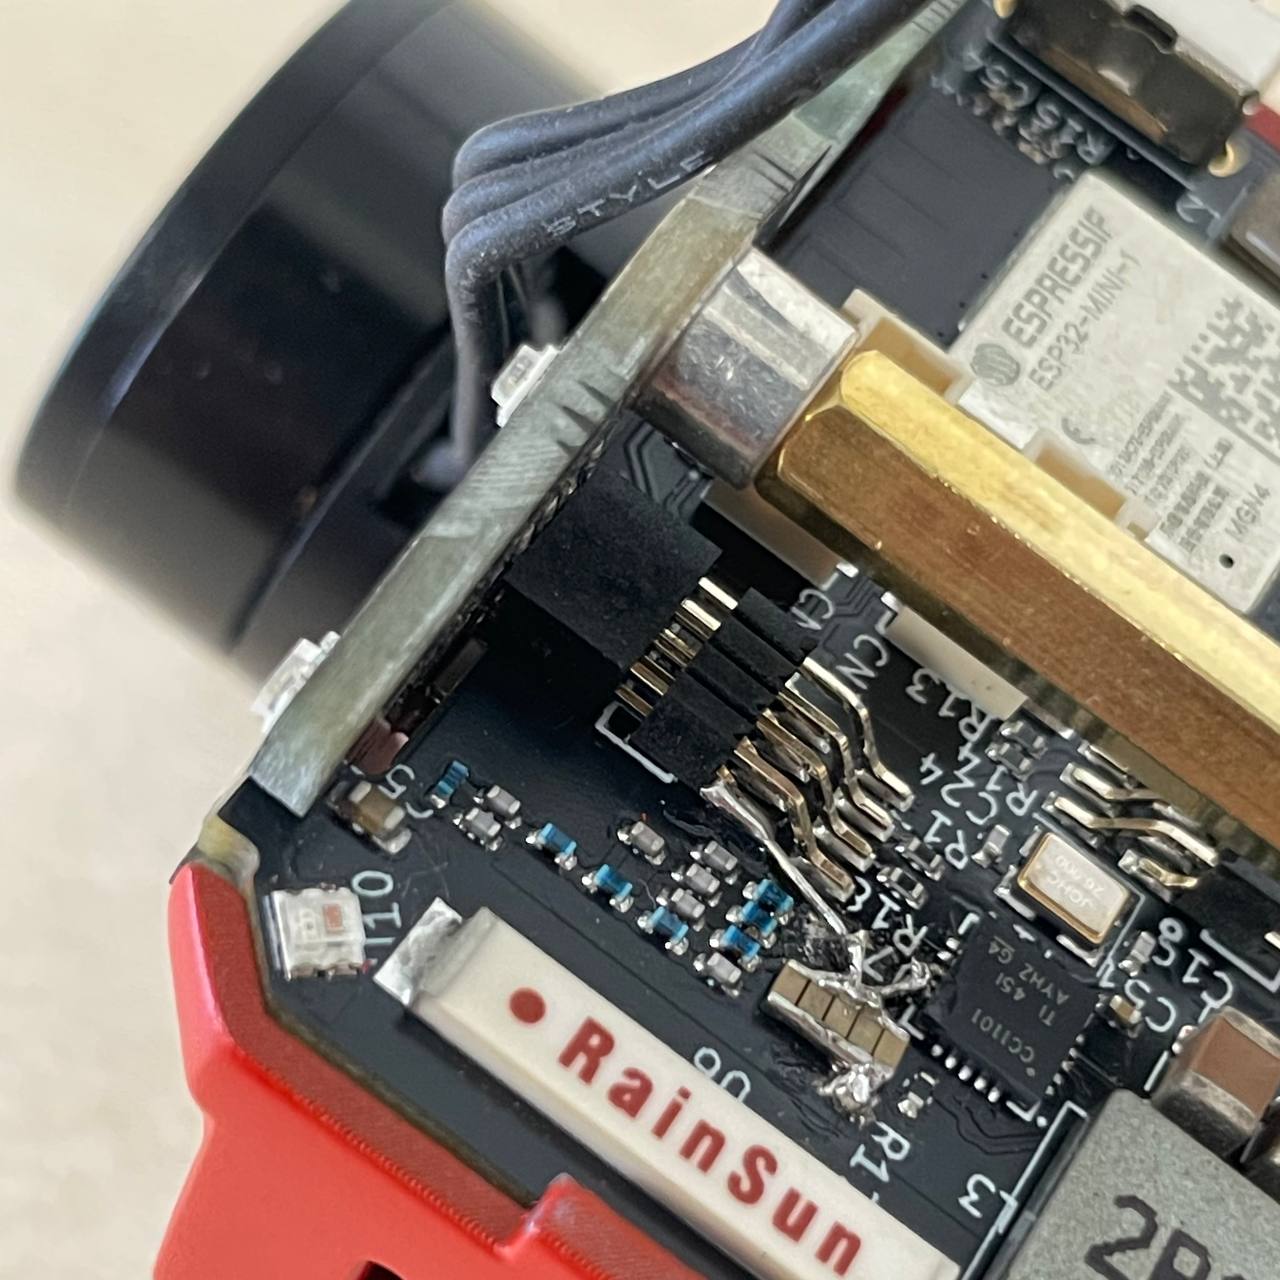
Pins aligned.
Connect the left side board to the main board. Make sure that pins align.
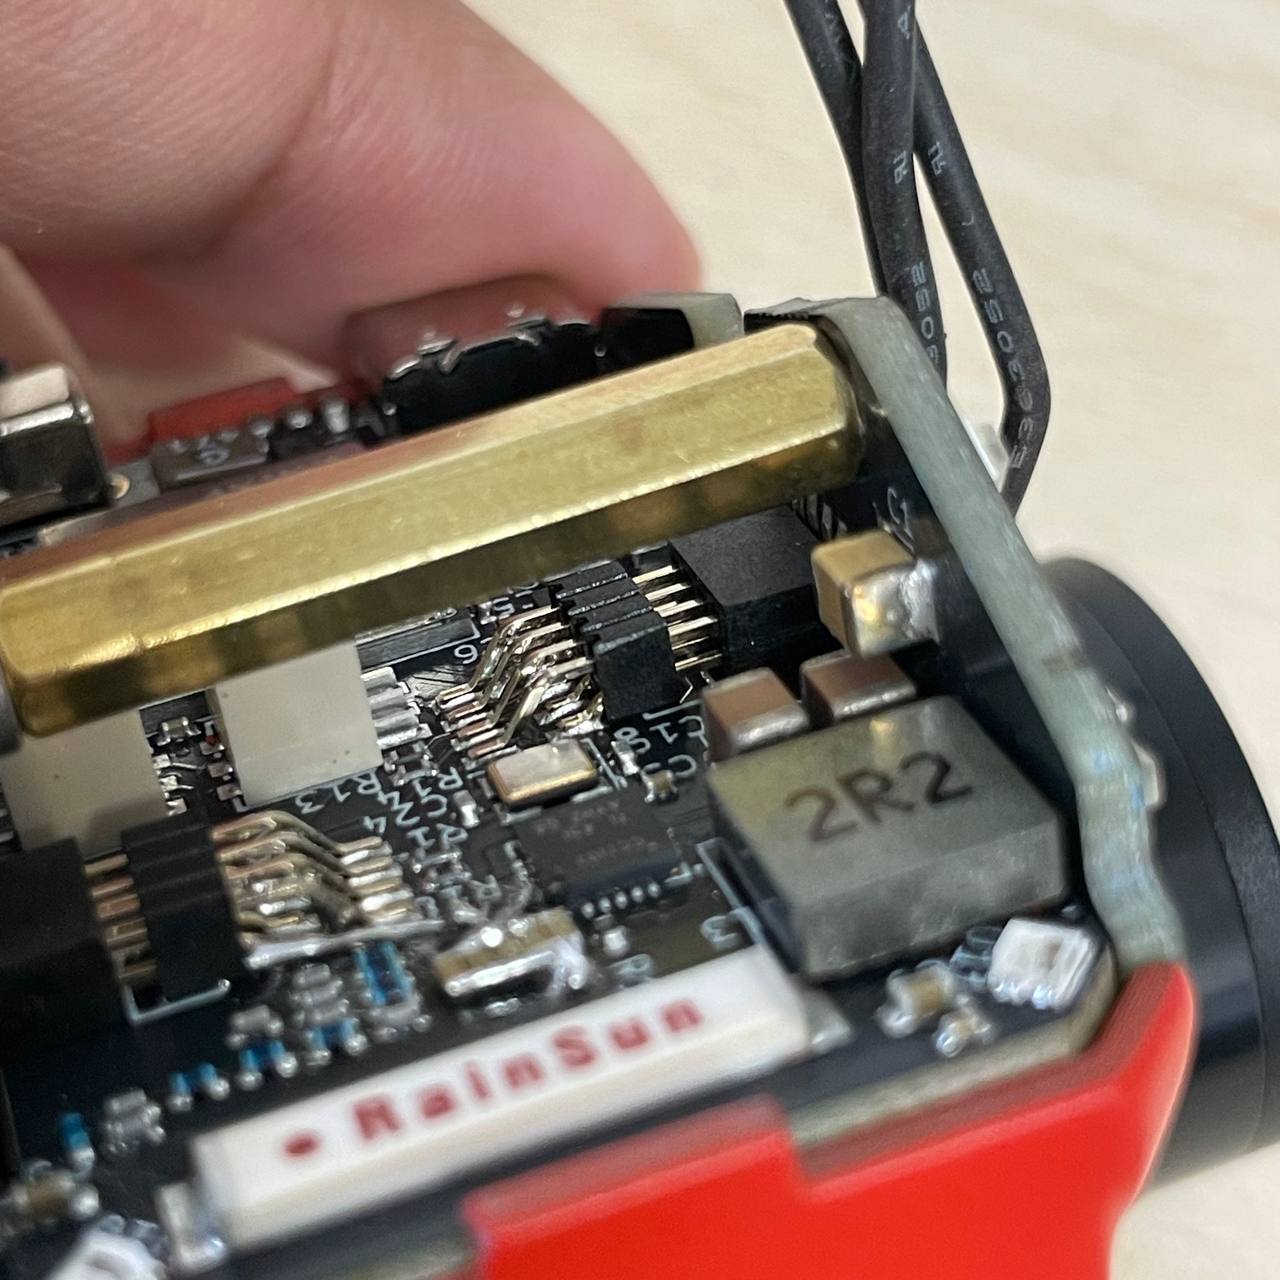
Pins aligned.
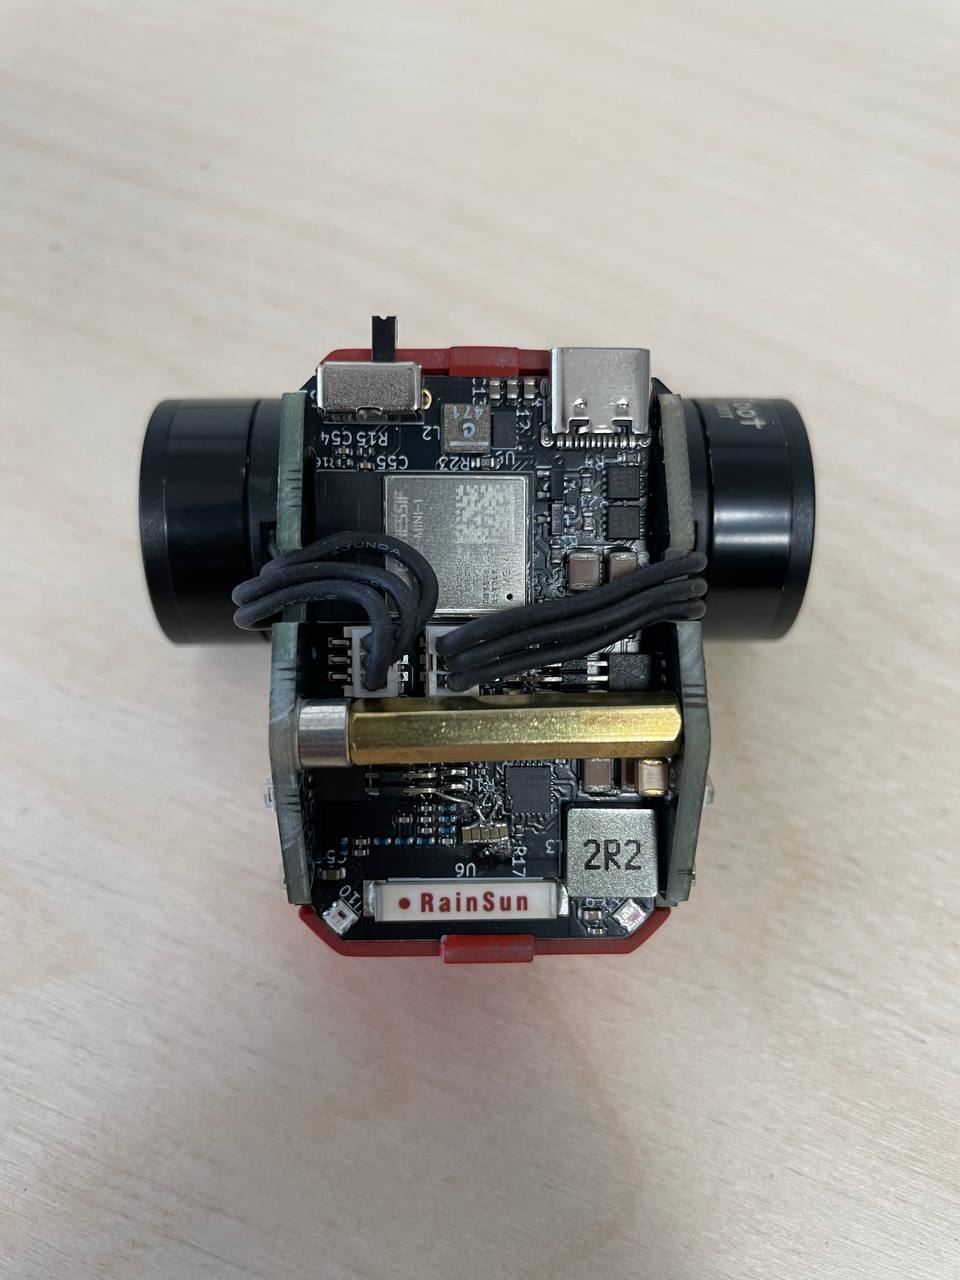
Connect motor cables to the main board.
Step 4: Assembling top shell
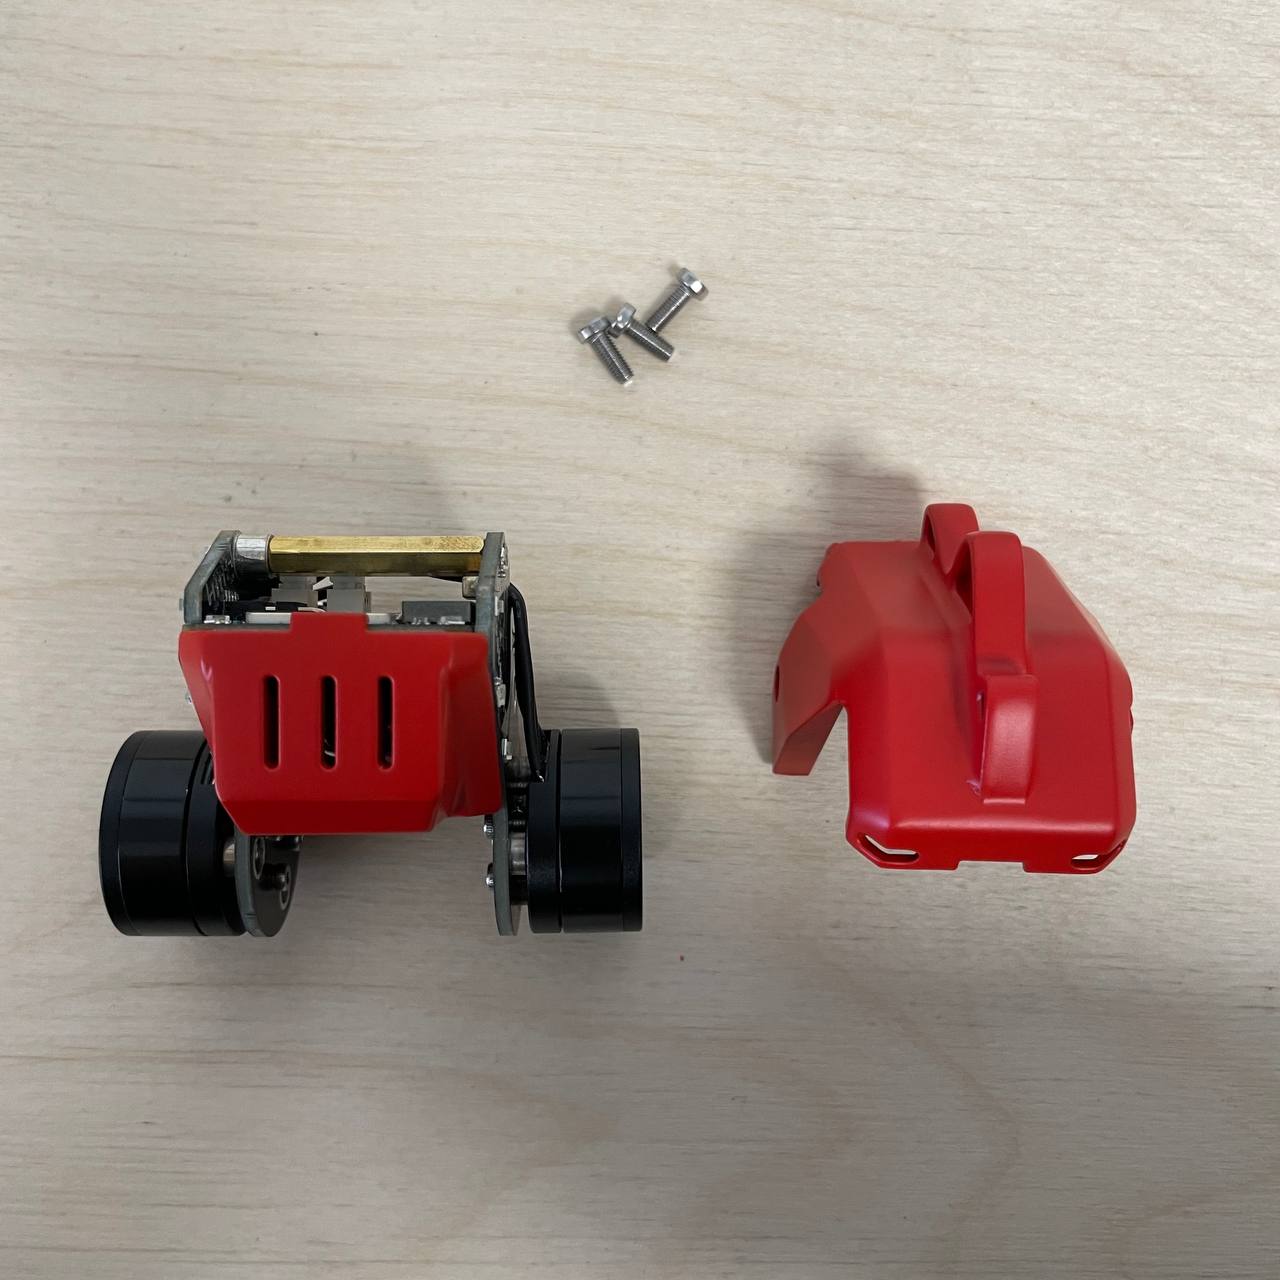
Slide top shell over the main board. Ensure cables fit neatly under the shell. Place one M3 bolt on the right side.
Bolt in two M3 bolts on the left side.
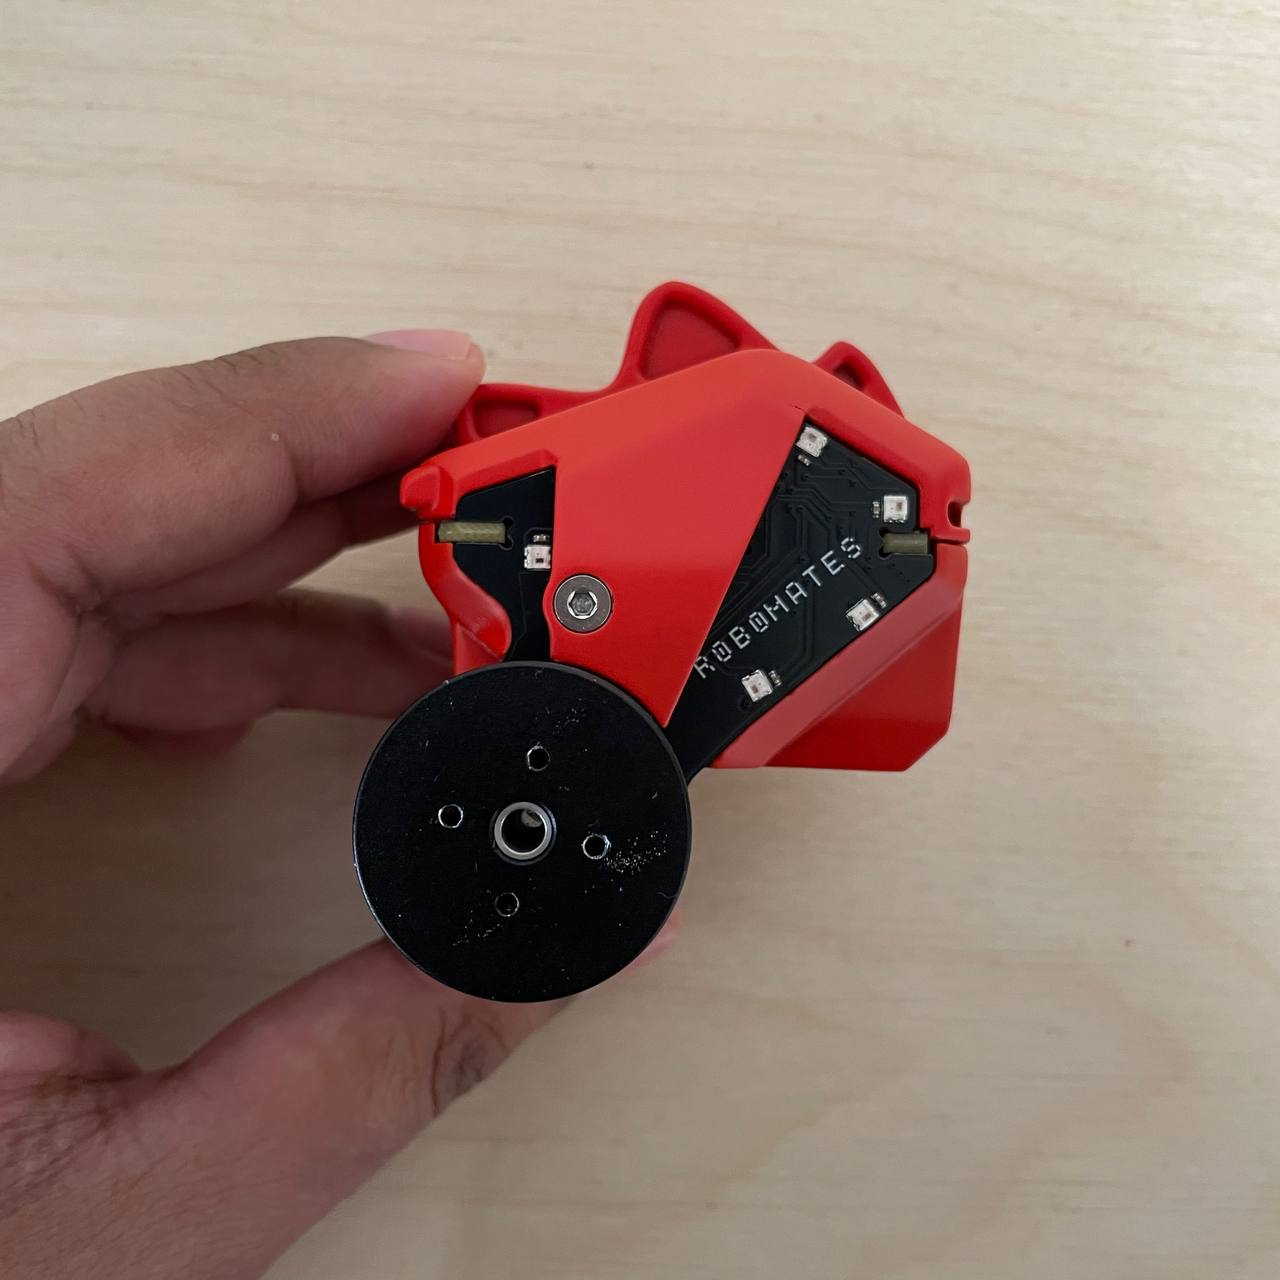
Step 5: Assembling rims and tyres
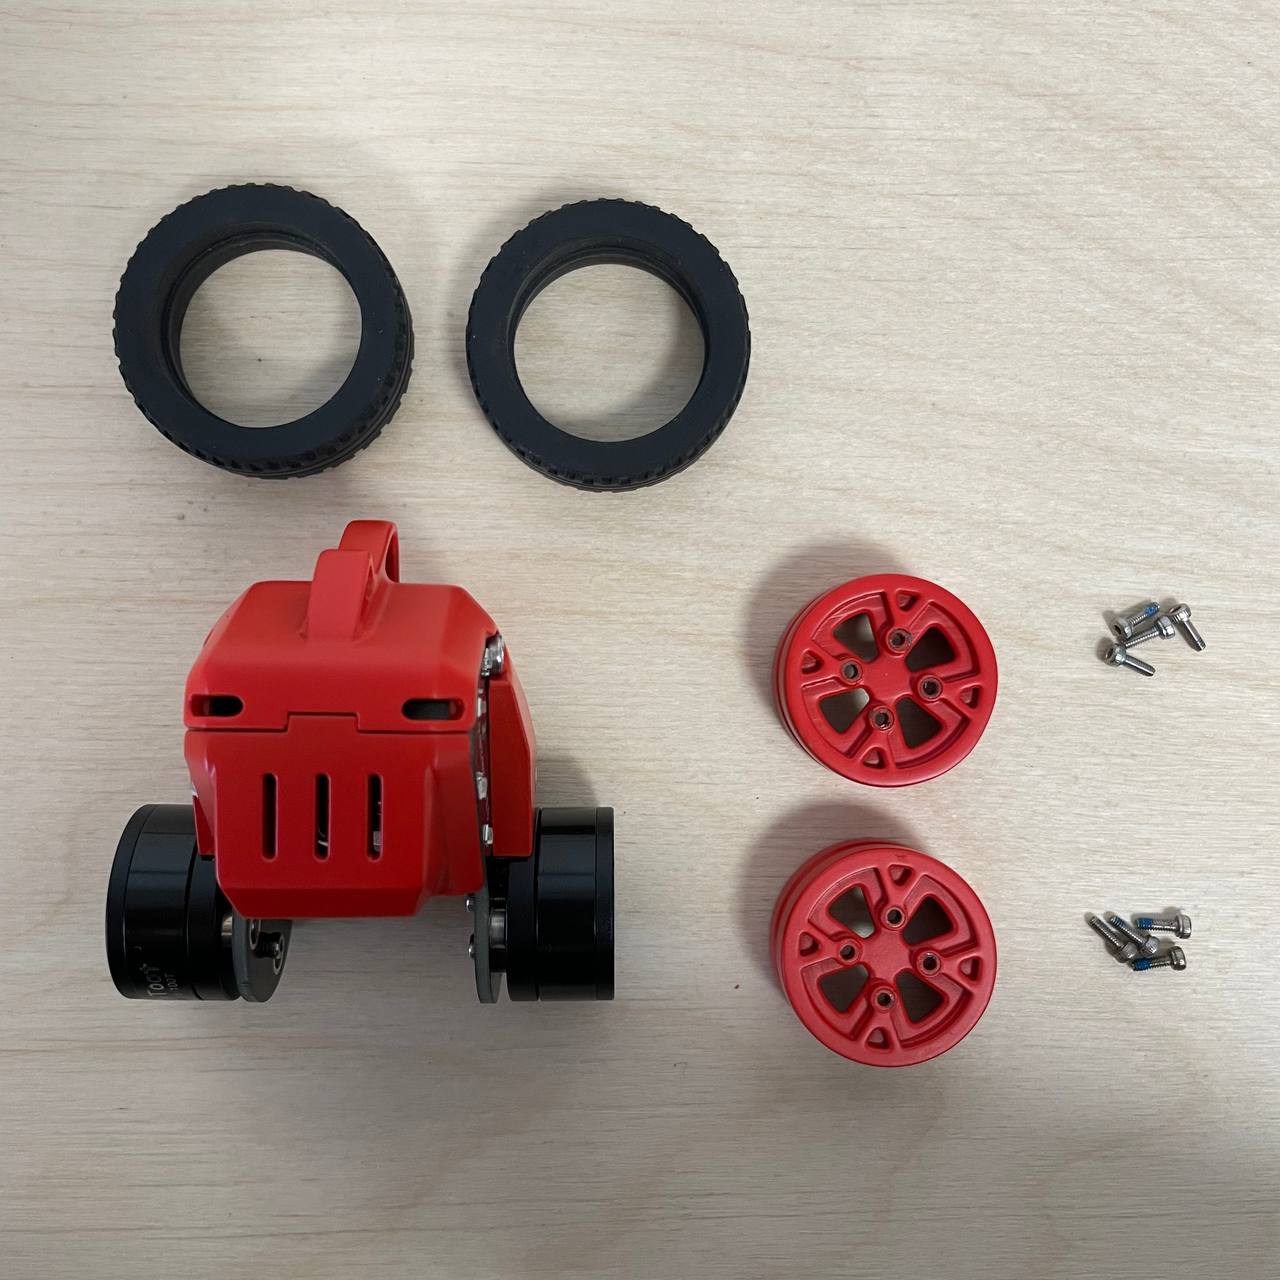
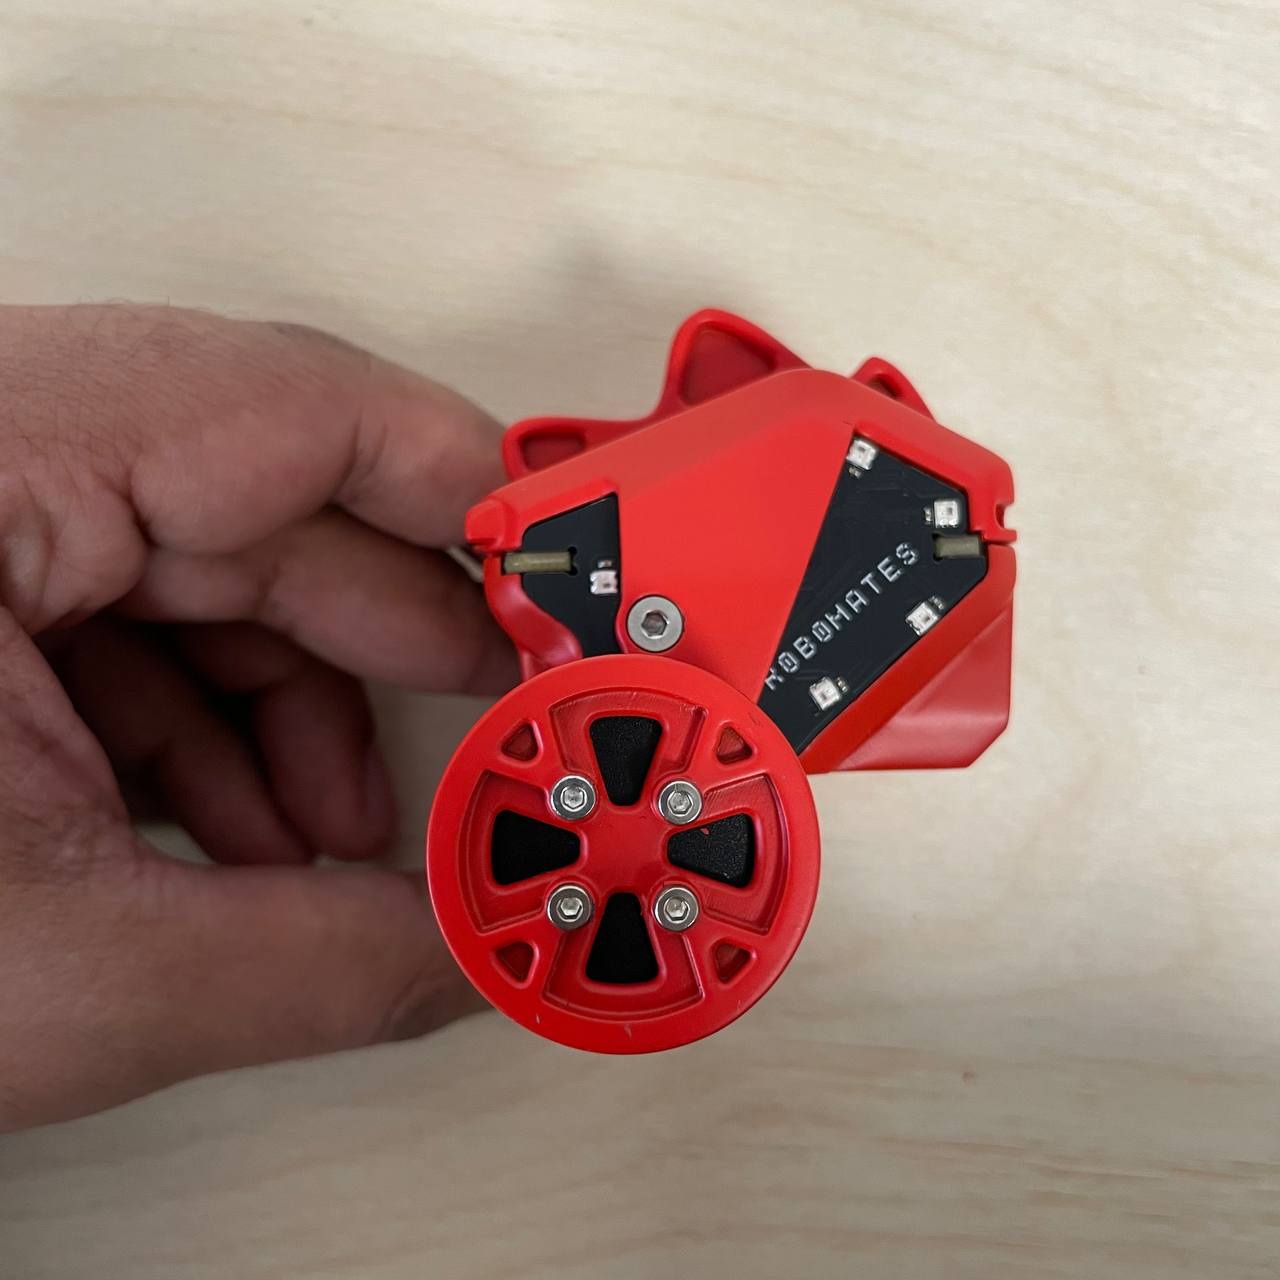
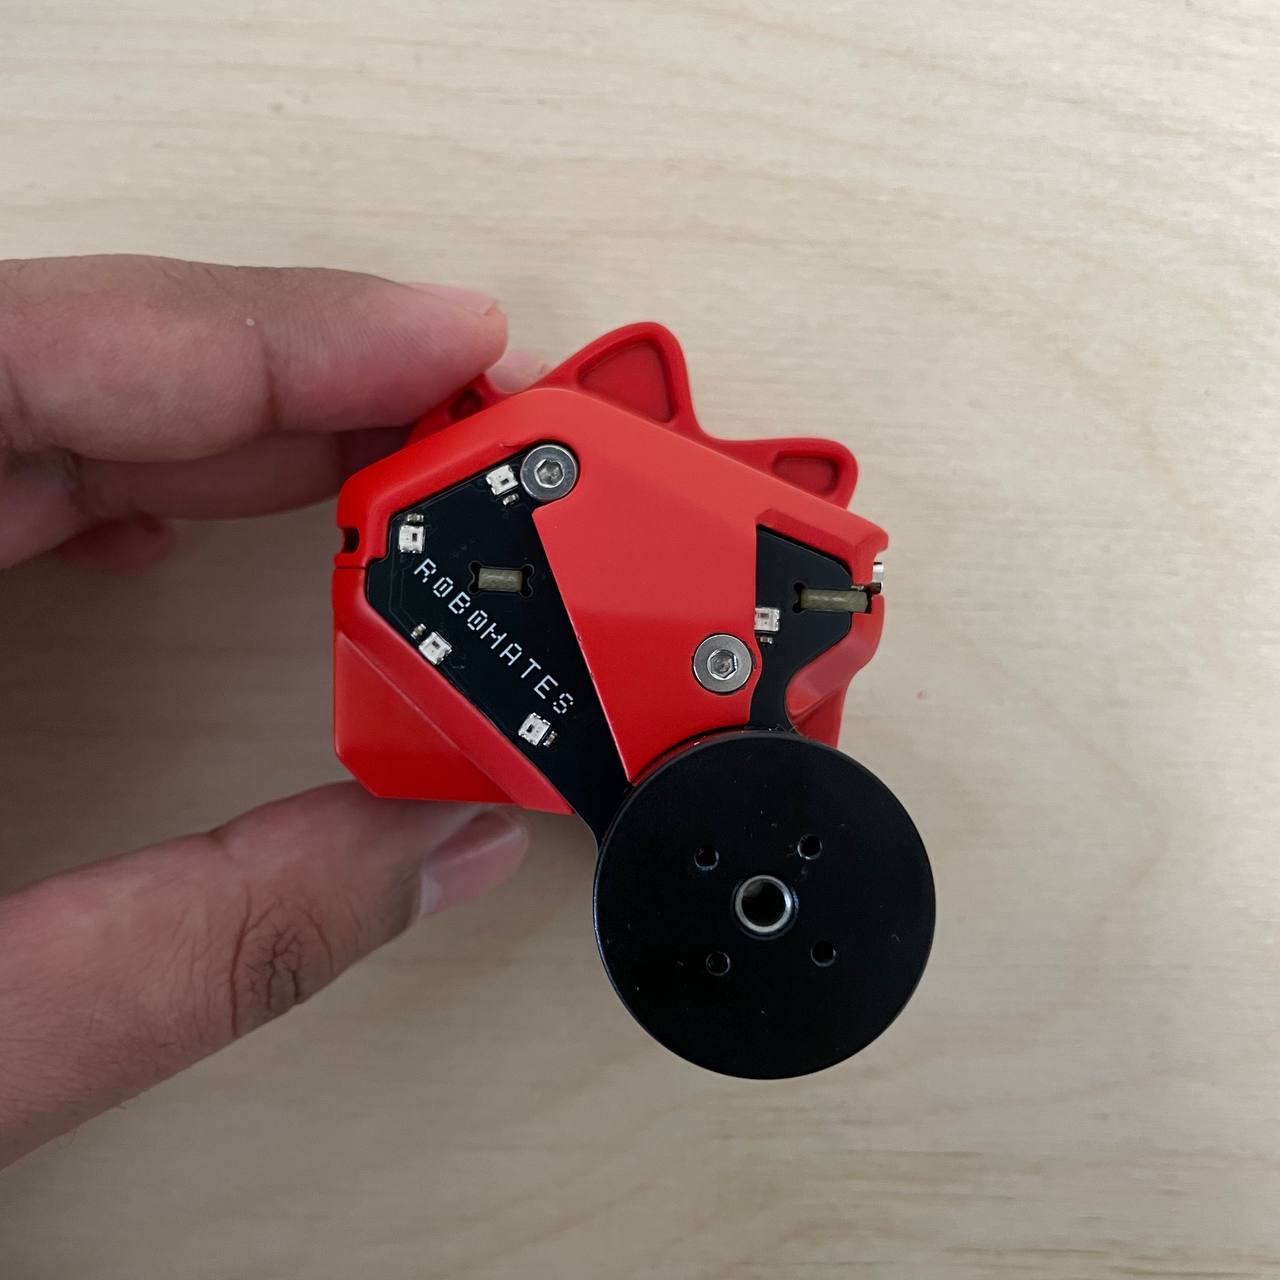
Bolt in right rim to the motor using M2 bolts.
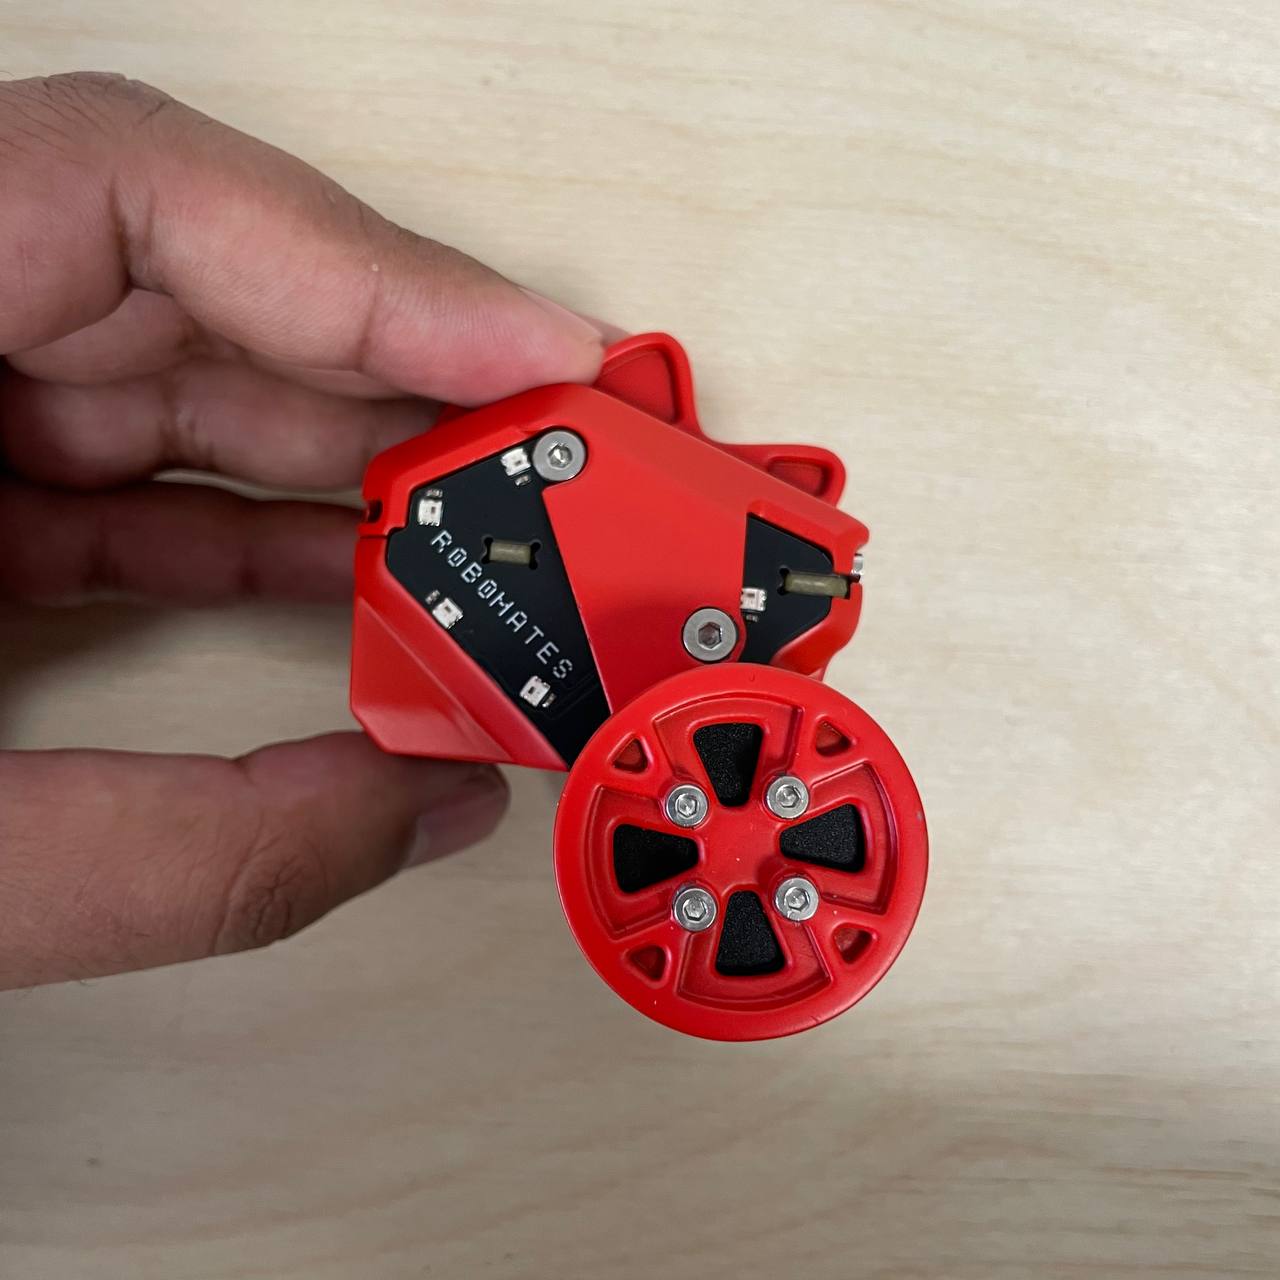
Bolt in left rim to the motor using M2 bolts.
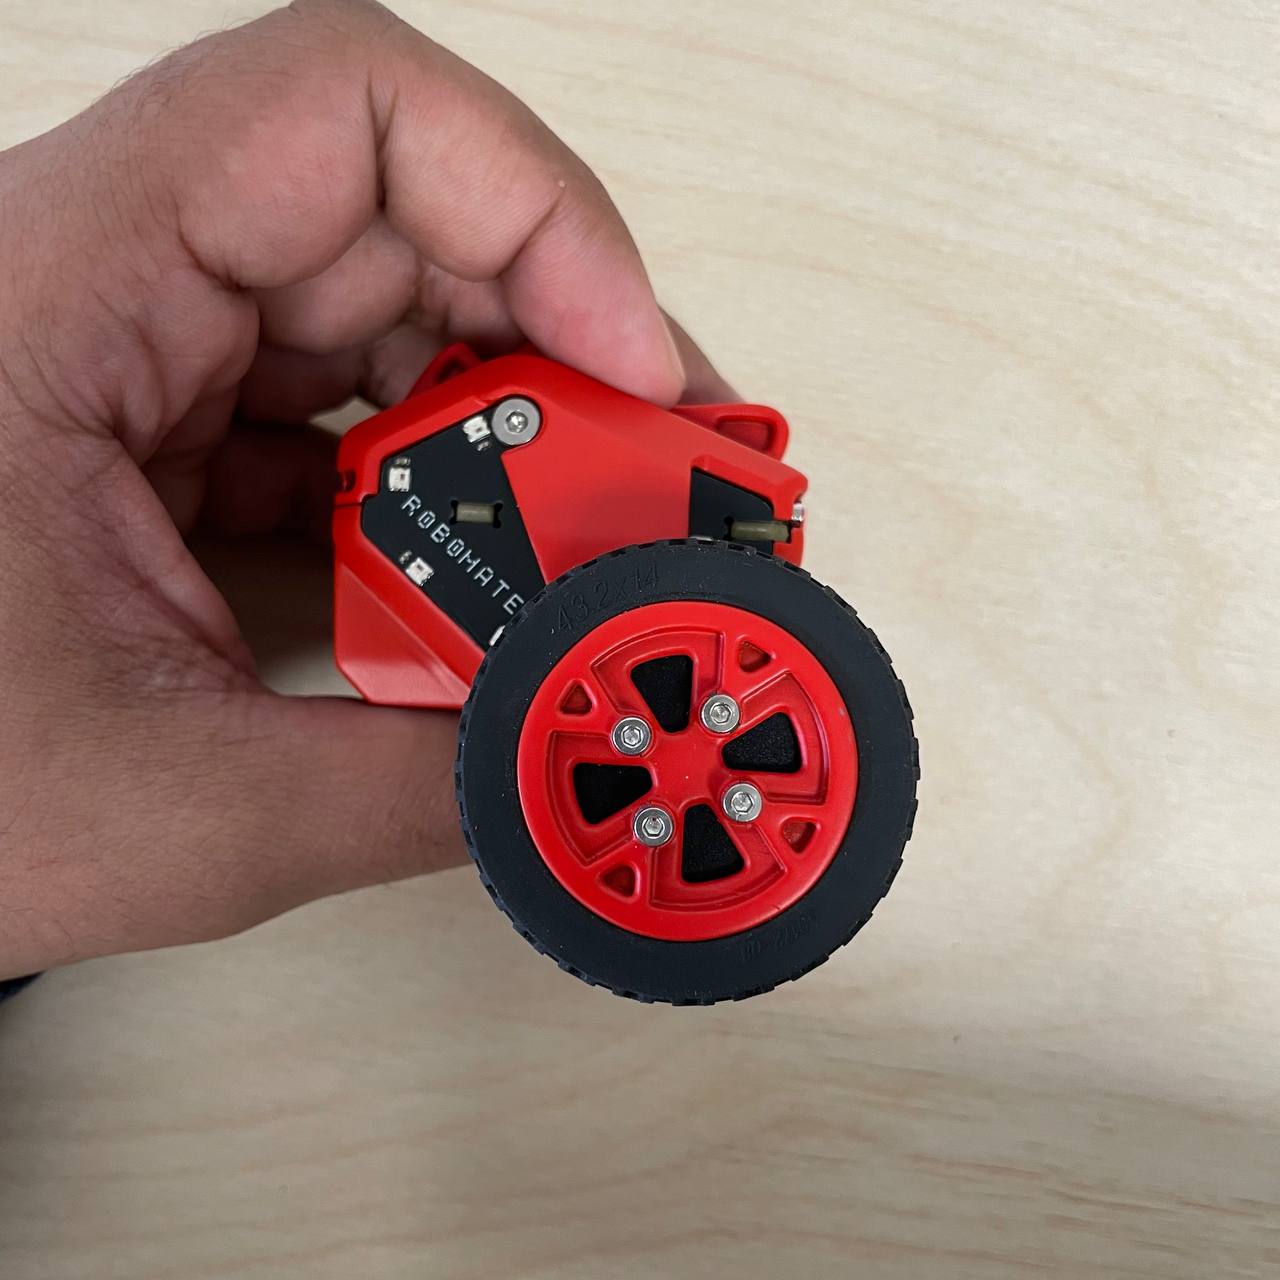
Press on tyre over the left rim.
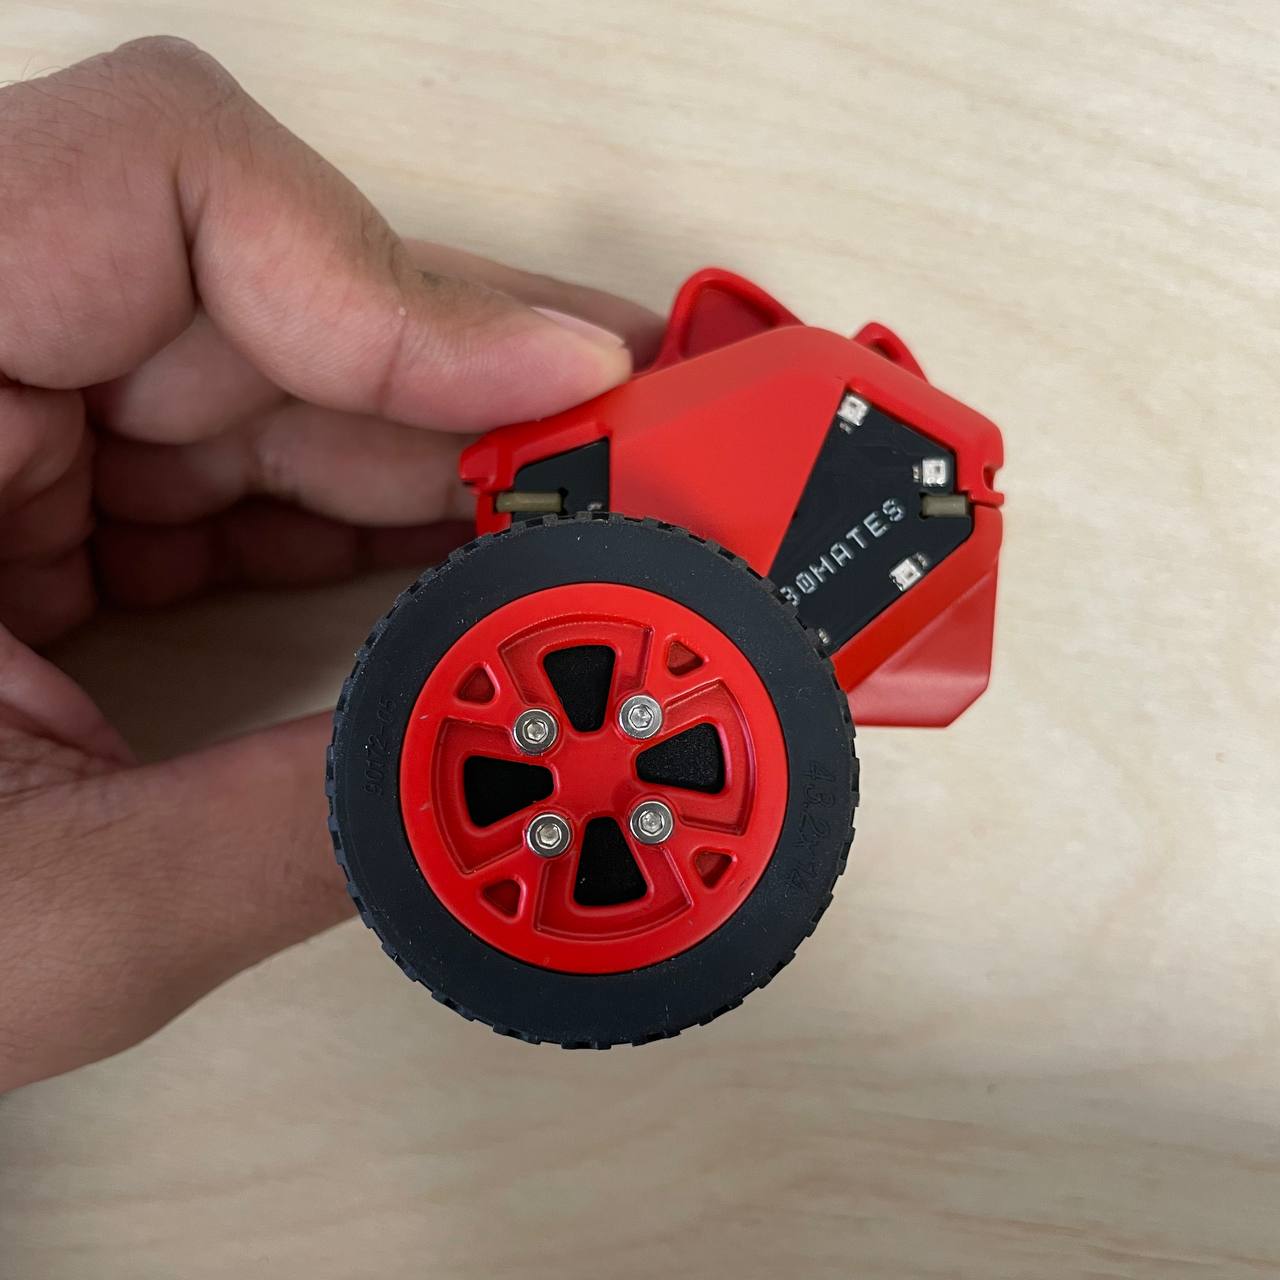
Press on tyre over the right rim.
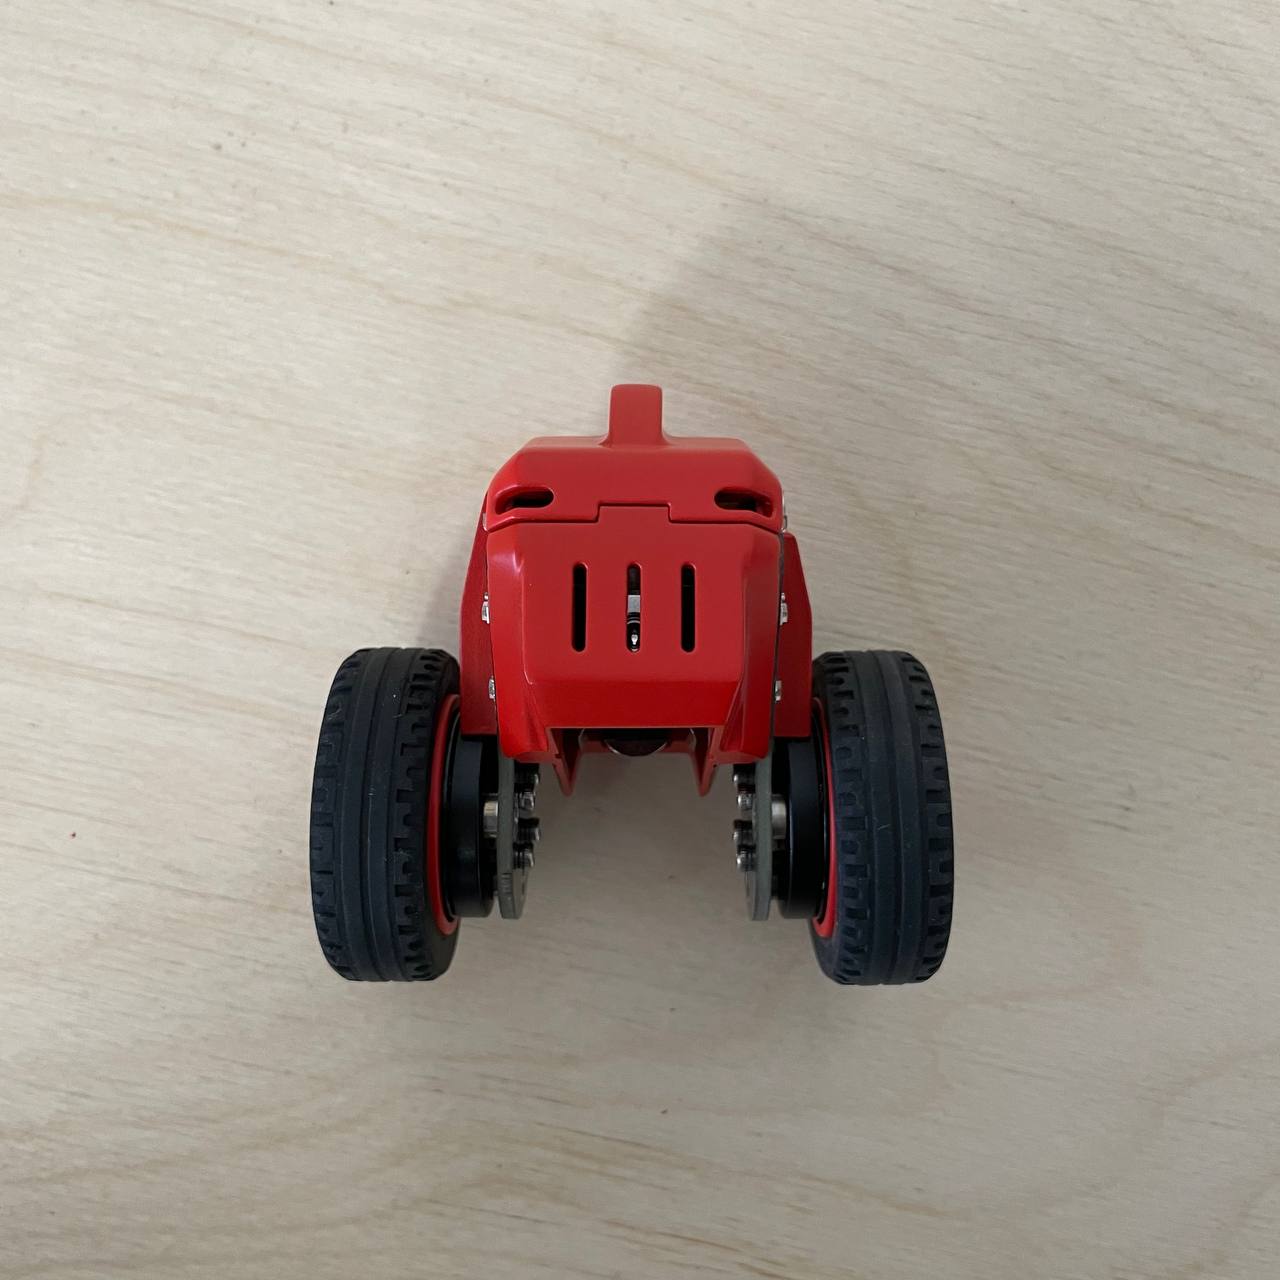
Your Robomate is assembled and ready to go. Head to First Start to power it on.